

Install and set up
From a fresh install to a working automated email in about fifteen minutes.
Before you start
You need Shopify Flow installed on your store. It is free from Shopify, and this app's actions appear inside it - without Flow there is nothing to trigger a send. The Help page in the app has a button that opens Flow, or installs it if it is missing.
The app itself needs no access scopes. It cannot read your products, orders or customers. Everything a customer sees in an email is data you deliberately pass in from Flow.
The setup guide
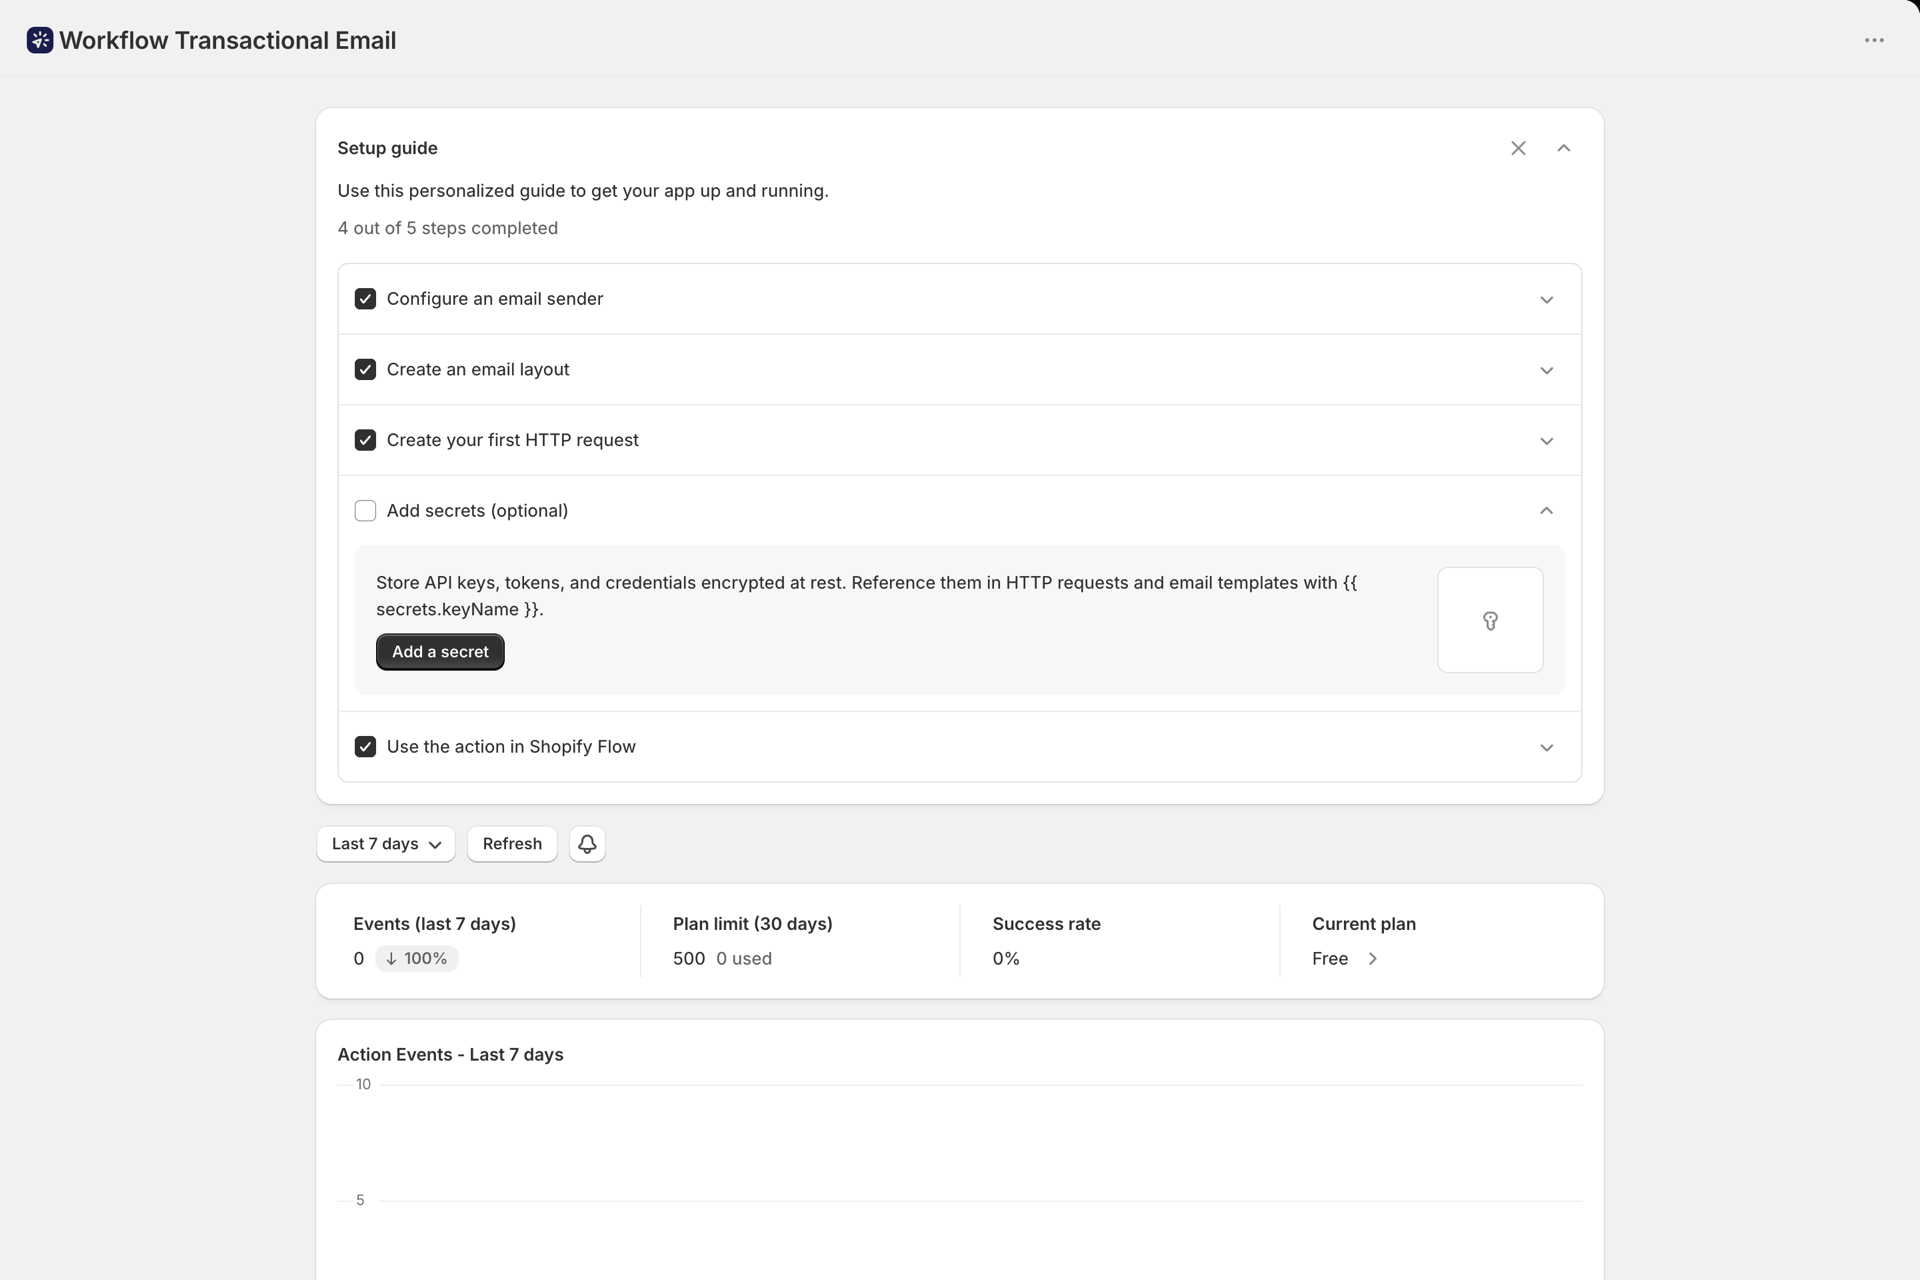
After installing, the dashboard shows a Setup Guide that tracks your progress through five steps and ticks them off as you complete them. Dismiss removes it once you are done.
The five steps, in the order that works best:
1. Configure an email sender
Connect the mailbox your email goes out from. Three options:
- Microsoft 365 or Google - one-click OAuth, no credentials to store. Best if your business email is already on either.
- SMTP - any server, including SendGrid, Mailgun, Amazon SES or your own.
Send a test email straight afterwards, from Email Senders → Send test email. It takes ten seconds and rules out a mailbox problem before you build anything on top of it.
2. Create an email layout
The email itself: subject, preview text, design. Pick Visual builder for a designed, branded email, or Rich text / HTML for something simple or to paste in HTML you already have.
That choice is permanent for the layout, so decide before you start. See Build an email layout.
3. Create an HTTP request (optional)
Only if you also want Flow to call an external API. If you are just sending email, skip it. See Make an HTTP request from Shopify Flow.
4. Add secrets (optional)
API keys, tokens and passwords, stored encrypted and referenced as {{ secrets.keyName }}. Only needed for HTTP requests or SMTP credentials you would rather not type inline. See Secrets.
5. Use the action in Shopify Flow
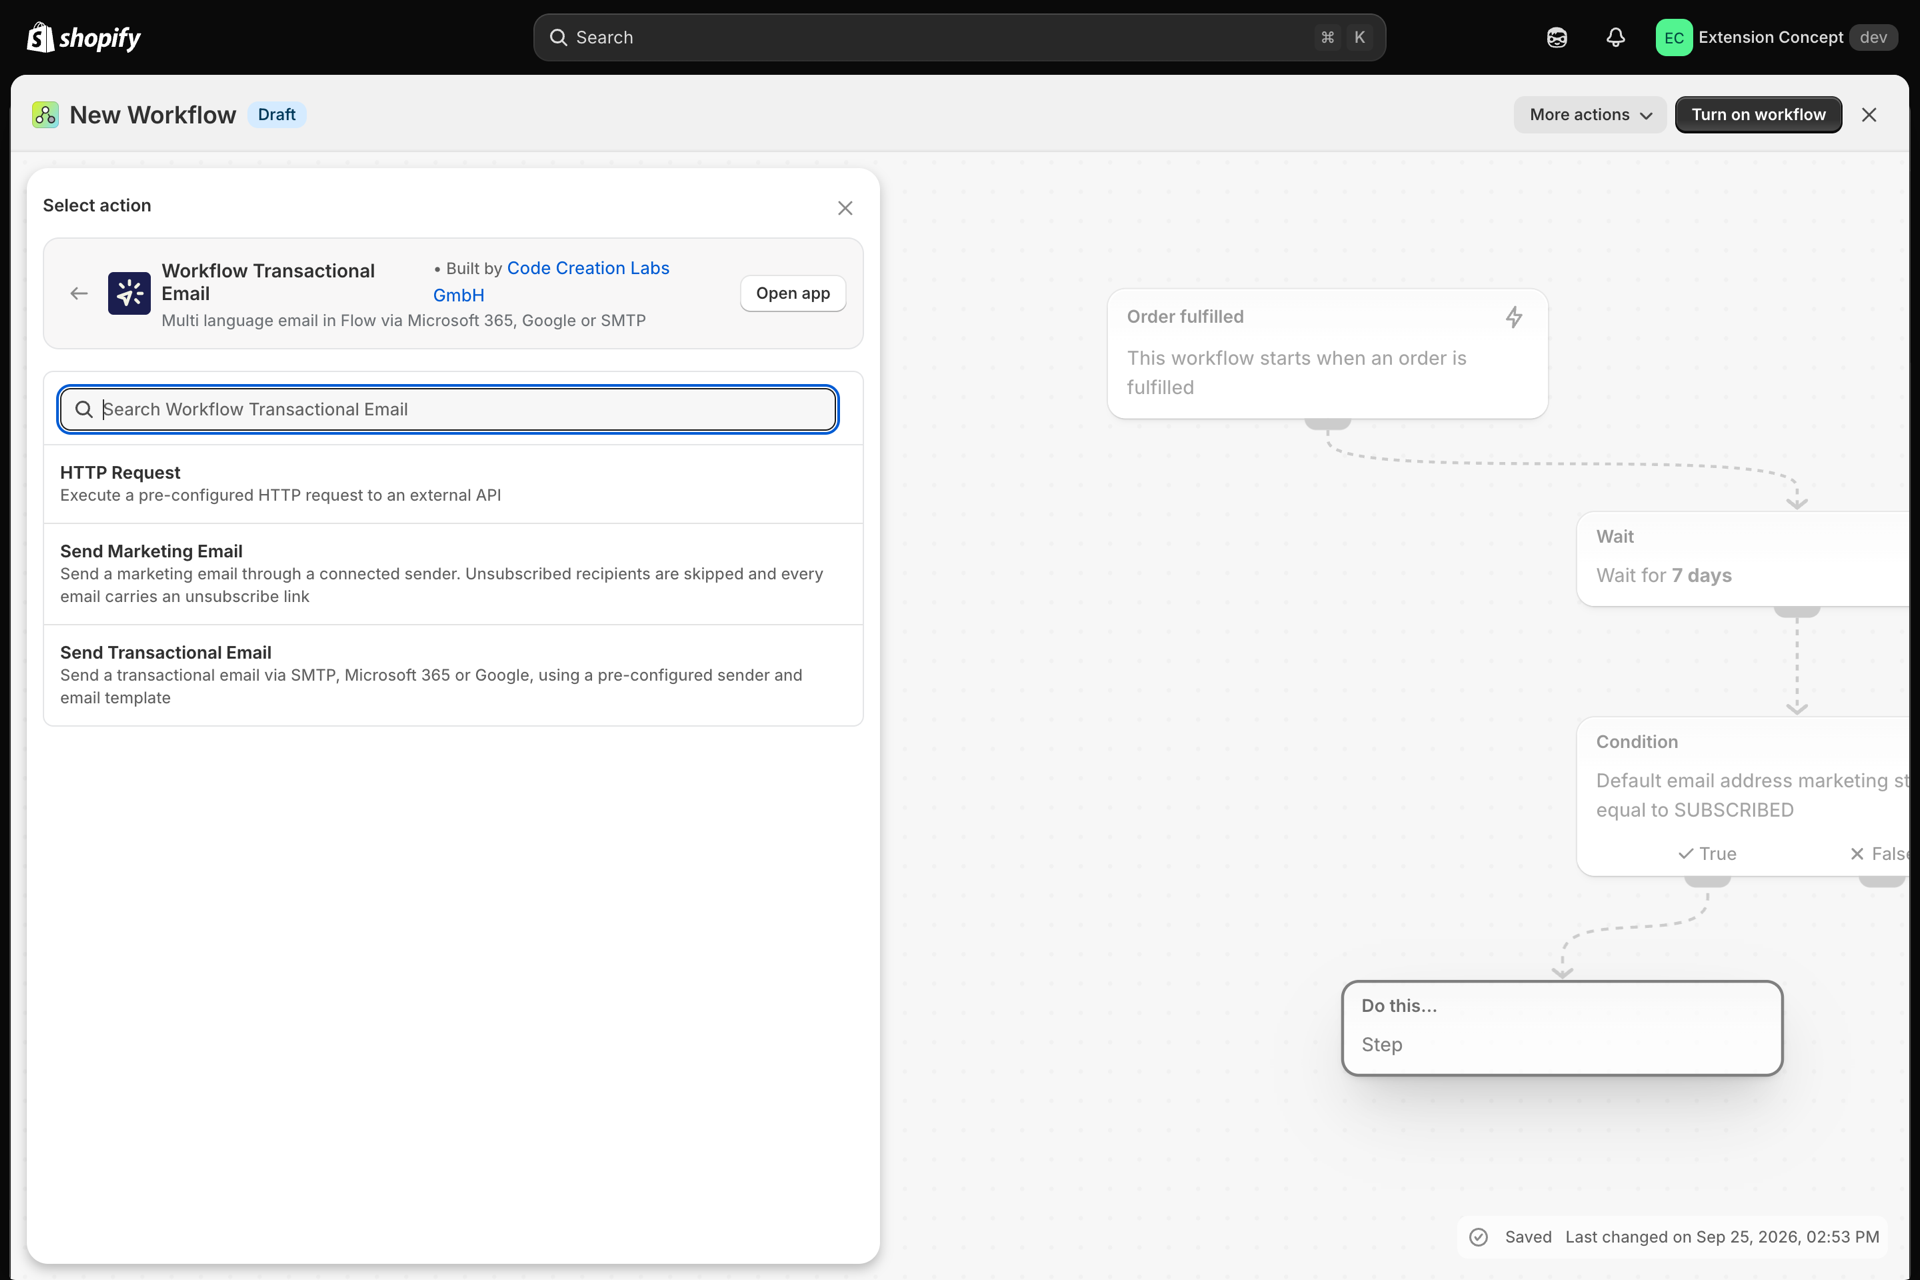
Open Shopify Flow, build a workflow, and add a Send Transactional Email or HTTP Request step from this app.
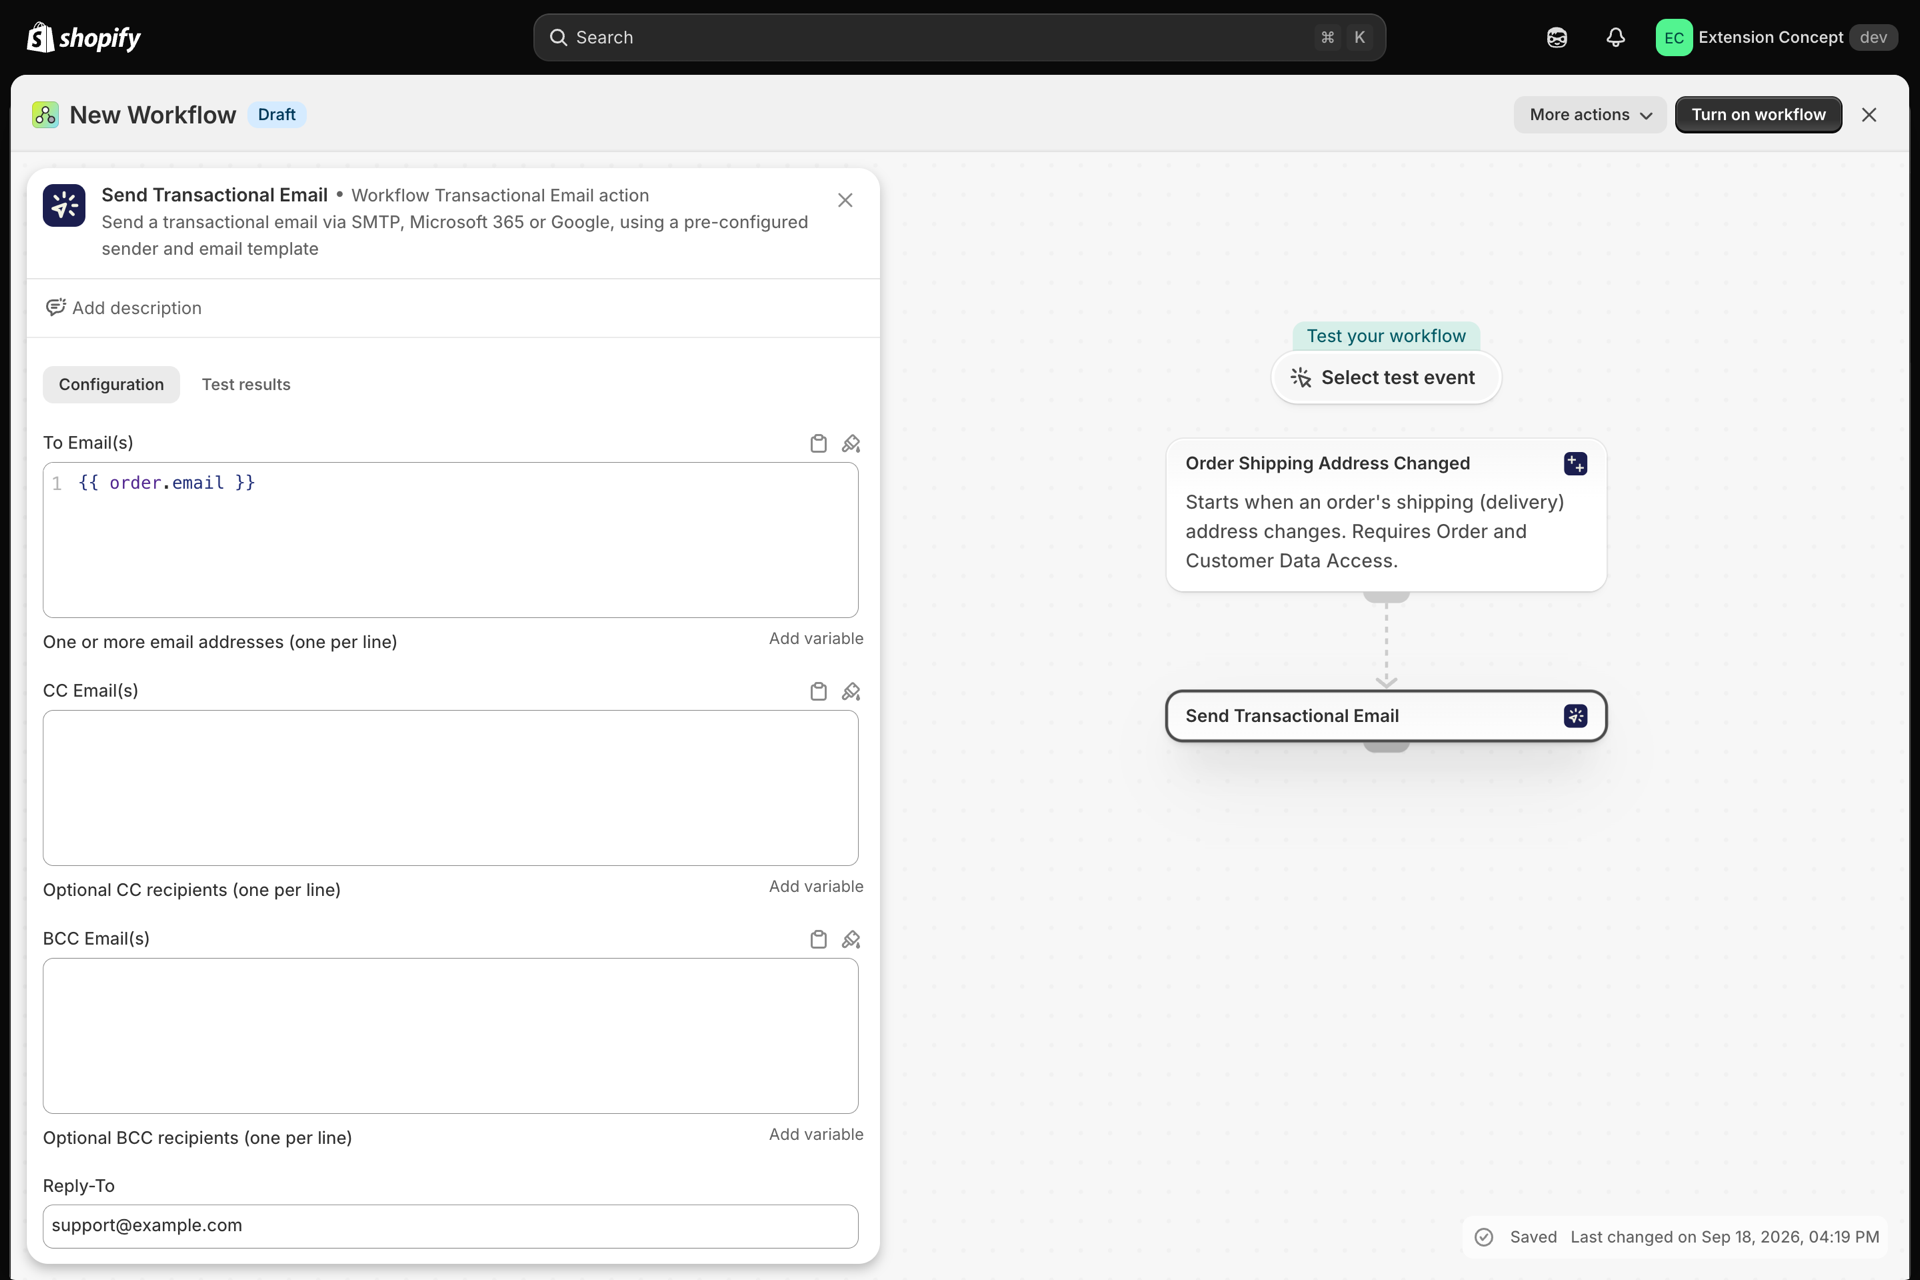
On the email action you set:
- To Email(s) - usually a Flow variable such as
{{customer.defaultEmailAddress.emailAddress}} - Variables (JSON) - the data your layout needs. Copy this from the Use in Shopify Flow card on your layout rather than writing it by hand.
- Send from and Template, on the action's own configuration screen.
Your first real test
Test sends prove your design. They do not prove your Flow wiring, because they use the layout's Test Variables rather than the workflow's JSON.
So once the workflow is on:
- Trigger it for real - place a test order, or tag a test customer, depending on your trigger.
- Open History in the app.
- Confirm the row is Success with no Empty variables badge.
- Check the received email: right values, right sender name, links working.
If the row shows Empty variables, open it - it names exactly which placeholders produced nothing.
The dashboard
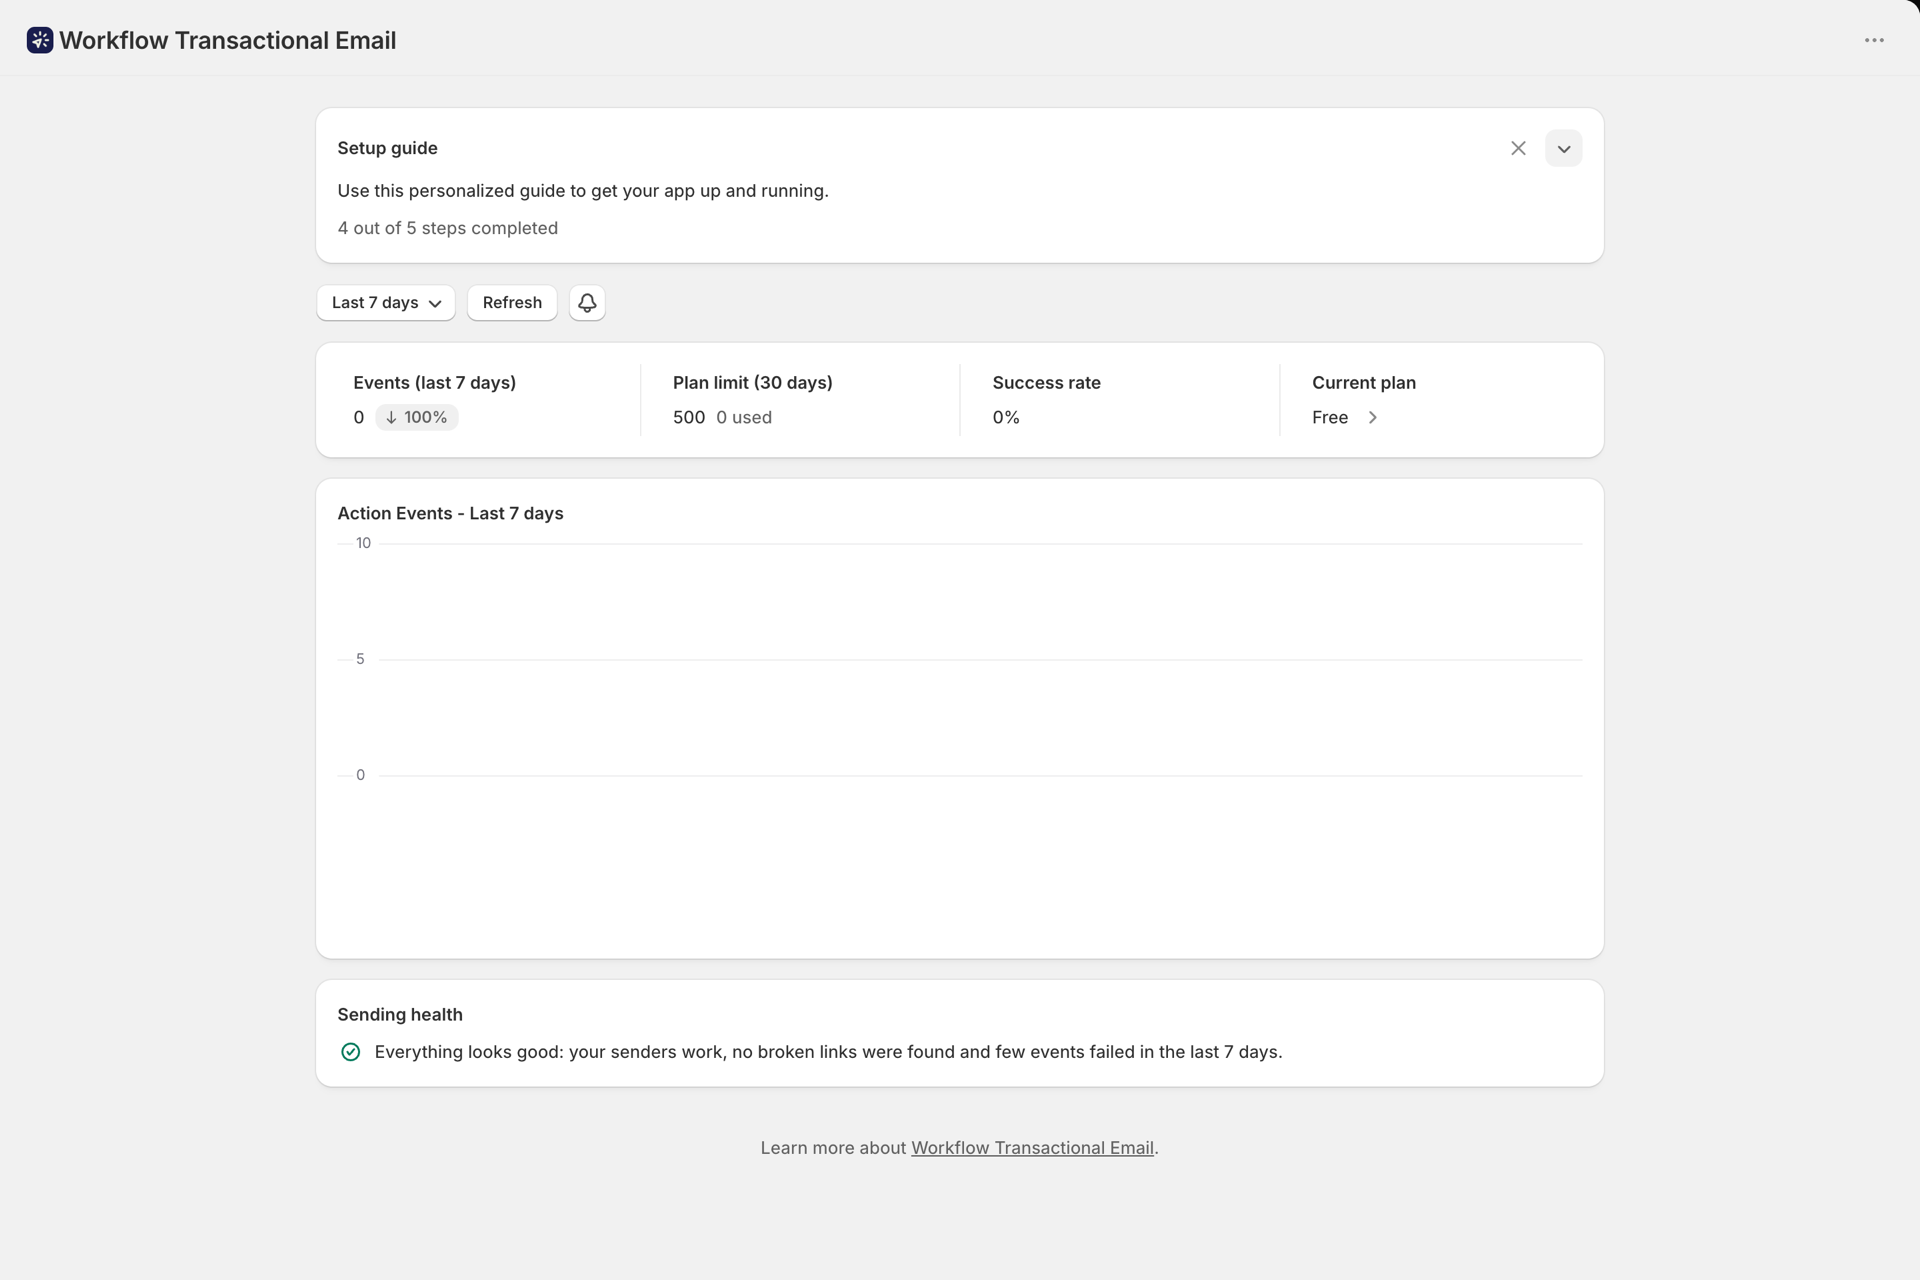
Once you are sending, the dashboard is your overview:
| Card | What it tells you |
|---|---|
| Events | Actions in the selected range, with a trend against the previous period. The bell icon opens notification settings |
| Plan limit (30 days) | Usage against your allowance |
| Success rate | Share that succeeded, badged Excellent / Good / Needs attention |
| Current plan | Your tier, with a link to change it |
The date range picker offers Today, Yesterday, Last 7 / 30 / 90 / 365 days and a custom range, defaulting to the last 7 days and bucketed in your store's timezone. Below the cards, a chart breaks volume down by action type.
Around the app
| Page | What it is for |
|---|---|
| Home | Setup guide, usage, success rate, recent activity |
| Email Senders | Connected accounts, SMTP servers, test sends |
| Email Layouts | The emails themselves |
| Header & Footer | Reusable branded headers and footers |
| HTTP Requests | Saved request templates |
| Secrets | Encrypted values for templates and requests |
| History | Every execution, with request and response detail |
| Developer | API keys for the REST API and MCP server |
| Settings | Custom fonts for your layouts |
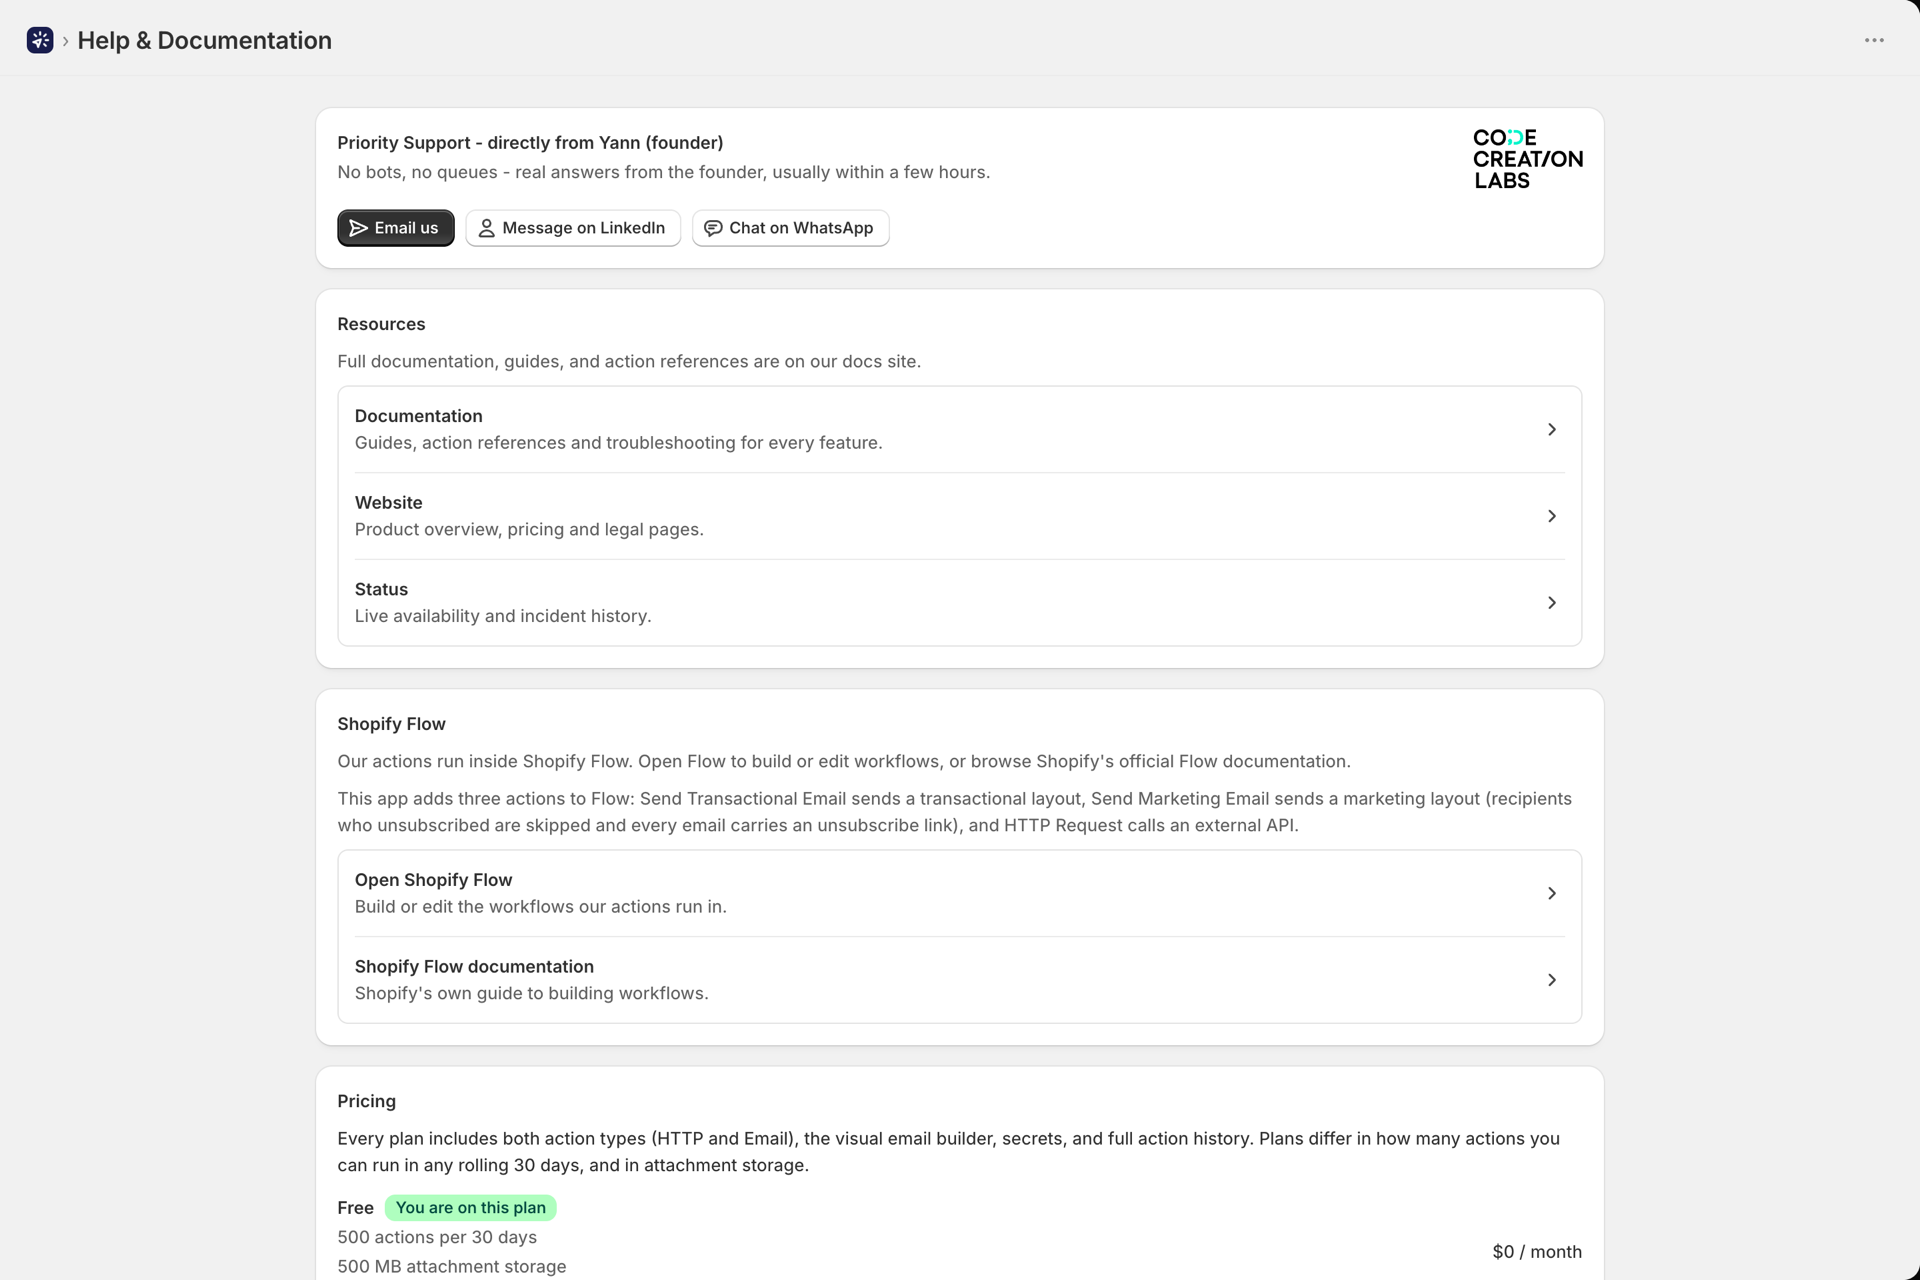
| Help | Support contacts, documentation and your plan |
Uninstalling
Uninstalling removes all of your data - layouts, senders, secrets, history and uploaded files. It is not recoverable, so export anything you want to keep first (More → Export on a layout).
Related
- Email senders overview - step 1 in detail.
- Build an email layout - step 2 in detail.
- Passing data from Shopify Flow - step 5 in detail.
- Plans and usage - what counts against your quota.