
Header and footer presets
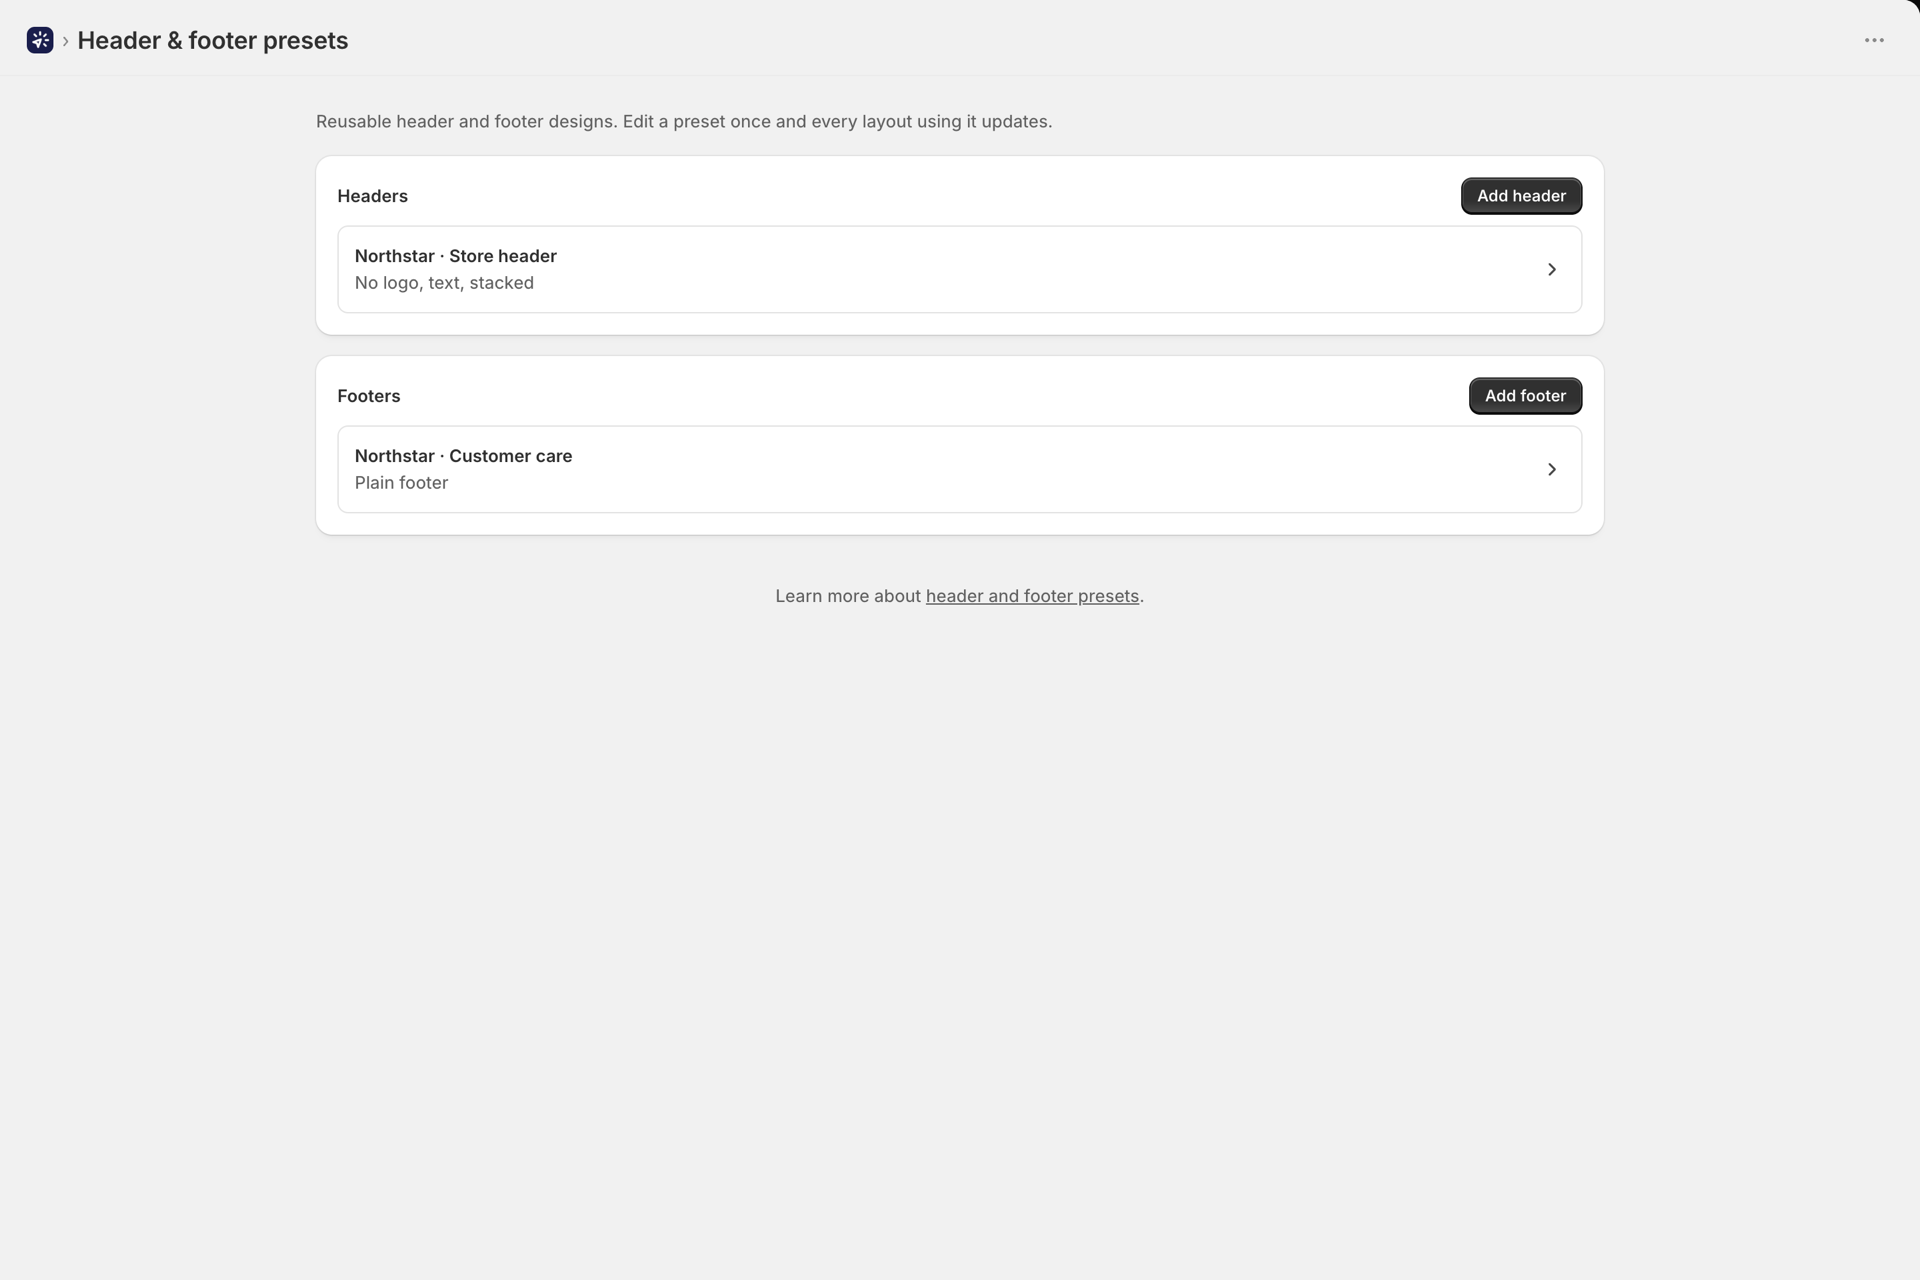
A preset is a header or footer design saved once and reused across layouts. Change the preset and every layout using it updates - so a new logo or a changed address is one edit, not twenty.
Find them under Header & Footer in the app navigation.
Creating a preset
The page has two sections, Headers and Footers, each with an Add header / Add footer button. Give the preset a name, design it, and save.
While you design, the Preview card shows the header or footer exactly as the email renders it, above or below a grey stand-in for the email content. It follows every change as you make it, so you see the result before you save.
Header options
Pick a layout first:
| Layout | What it shows |
|---|---|
| Logo only | Just your logo |
| Logo + Text | Logo with a tagline or description underneath |
| Logo + Text + Links | Full header with navigation links |
Then configure the parts:
- Logo - show or hide it, choose the image, set alt text, pick a size (Small 80px, Medium 150px, Large 220px, Extra Large 300px) and alignment.
- Text - a tagline or short description. Supports
{{ secrets.xxx }}and{{ variables.xxx }}. - Navigation Links - each with a label and a URL.
- Direction - stack the elements vertically, or lay them out side by side.
- Text and links alignment - for a stacked header only. By default the text and the links line up with the logo (Same as logo). Choose Left, Center or Right to place them on their own, for example a centered logo with left-aligned text and links. A side-by-side header keeps its own arrangement, so the option is hidden there.
Footer options
| Layout | What it shows |
|---|---|
| Minimal | Copyright and unsubscribe only |
| Full | Social links, custom text, copyright and unsubscribe |
- Social Links - Facebook, Instagram, X (Twitter), LinkedIn, YouTube, TikTok, Pinterest, Snapchat, Tumblr, Twitch, Vimeo, Email and Website.
- Custom Text - company details, legal text, anything you must include. Supports variables and secrets.
- Legal - show or hide the copyright line.
- Direction and Alignment - vertical or horizontal, left / center / right.
Texts in other languages
A preset is one design, but its words can differ per language. Open a saved preset and scroll to the Languages card. Under Add a language, choose a language and click Add. The new language starts with the preset's own texts, so you only overwrite what should read differently:
- Logo alt text (headers that show a logo)
- Custom text
- Unsubscribe text (footers)
- Label for ... - one field per navigation link or social link
Only the words change. Layout, colors, logo, link URLs and the order of the links are the same in every language. An empty field keeps the original text, so you can translate the tagline and leave a brand name as it is. Remove takes a language off the preset again.
As soon as a preset has languages, the Preview card gets a Preview language select: Original shows the preset's own texts, each language shows its own.
Which texts an email gets
The email's language decides. That is the Language your Shopify Flow step sends (for example {{order.customerLocale}}), or the layout's main language when the step sends none - the same value as {{ language }}. The preset picks its texts in this order:
- The exact language,
fr-cafor a Canadian French customer. - The base language:
de-ATandde-CHuse yourdetexts. - A regional variant of that language.
- Otherwise the preset's own texts.
A preset has no main language of its own, so its own texts are the fallback for every language you did not add. Nothing is ever blocked or left blank because of a missing language.
The layout editors show the same thing: open a layout's translation and a preset it uses appears with the texts for that language, so the canvas matches what the customer receives. See Send emails in your customer's language for how a layout's languages work.
Using a preset in a layout
Open a layout in the visual builder and click the header or footer region on the canvas. The Saved preset dropdown lists your presets plus Custom (this layout only).
Choose a preset when the design should stay in sync with your other emails. Choose Custom when this one email genuinely needs something different - a one-off campaign header, say.
Deleting a preset
You can always delete a preset, even while layouts use it. If any do, the app tells you which ones after deleting:
Preset deleted. 3 layouts used it and will now render without it: Order confirmation, VIP welcome, Shipping update
Those layouts keep working - they simply render without that header or footer until you pick another preset or switch them to Custom.
Related
- Build an email layout - the rest of the email designer.
- Send emails in your customer's language - translations of a layout, which pick up a preset's texts in their language.
- Attachments and images - uploading your logo.